
The easiest way to get your Elveta real-time dongle online is our free app, Elveta Connect, for iOS and Android. It talks to your Elveta real-time dongle over Bluetooth, so you never have to connect your phone to the dongle's own Wi-Fi network. Learn more and download it from the Elveta Connect app page.
Prefer to configure your Elveta real-time dongle over its own Wi-Fi network instead? See Onboard Using Wi-Fi.
Activate the customer port
If it is not already active, contact your electricity network provider to activate the customer port, see Activate the Customer Port on our support page. You can continue with the steps below in the meantime - data just won't be visible until it has been activated.
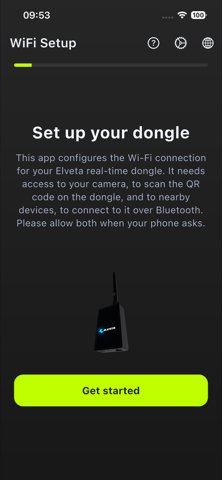
Open the app
Open Elveta Connect and tap "Get started". Allow it to use the camera and Bluetooth when asked.
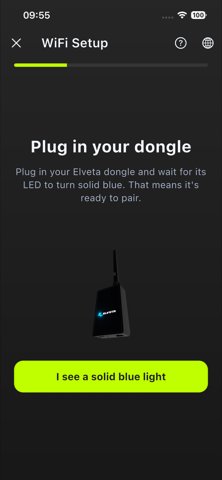
Plug in Elveta Real-Time Dongle
Connect your Elveta real-time dongle to power - a USB-C charger, or directly to a P1 meter - and wait for a steady blue light; that means it is ready to pair. If you have a HAN port or Kamstrup OMNIPOWER®, configuration must be done with the USB-C cable plugged in.
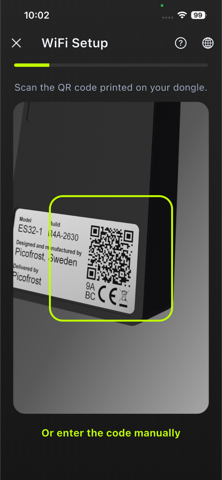
Scan the QR code
Scan the QR code printed on the Elveta real-time dongle's label, or enter the code manually if the camera can't read it.
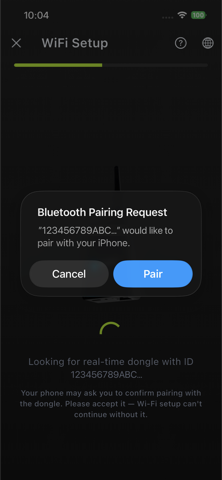
Pair over Bluetooth
Your phone shows a system pop-up asking to pair with your Elveta real-time dongle. Accept it - setup cannot continue without it.
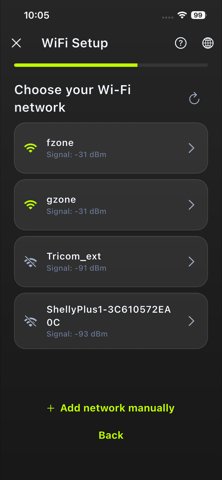
Choose your Wi-Fi
Pick your home Wi-Fi network from the list your Elveta real-time dongle found. It must be 2.4 GHz with WPA2 and reach your electrical cabinet.
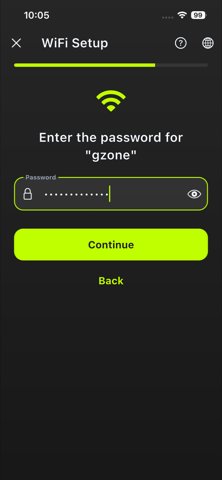
Enter the password
Type in the Wi-Fi password and continue. The app sends the details to your Elveta real-time dongle over Bluetooth.
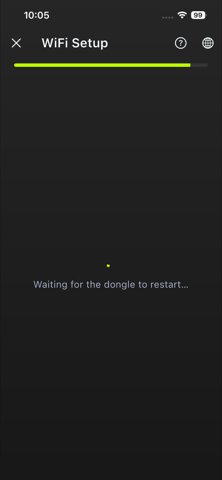
Wait for the restart
Your Elveta real-time dongle restarts and tries to join your Wi-Fi. This can take up to two minutes.
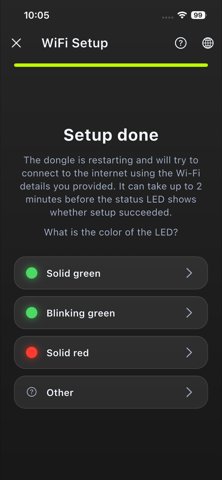
Check the LED
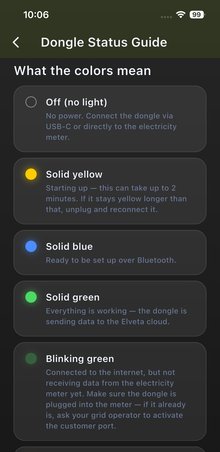
Tell the app what color your Elveta real-time dongle's LED shows. Green means it worked - see status indications below for what other colors mean.
Plug the dongle into the electricity meter
Connect your Elveta real-time dongle to your electricity meter, if this was not done in step 3, using the supplied cable: RJ12 cable if you have a P1 port and RJ45 cable if you have a HAN port. If you have a Kamstrup OMNIPOWER®, the real-time dongle is installed inside the electricity meter without a cable. More information about how to connect it is available on the Electricity Meters page.
Mount the dongle easily
Mount your Elveta real-time dongle on the wall inside the electrical cabinet. Strong magnets keep it in place.
Place it optimally
Remember to place the antenna with as few objects as possible between your Elveta real-time dongle and your Wi-Fi access point. This improves the signal.
Turn or tilt the antenna so that the long side of the antenna "points" toward your Wi-Fi access point for optimal coverage. Do not point the tip of the antenna toward the Wi-Fi access point.
Steady green light
Within one minute, your Elveta real-time dongle will show green if it
1) has received data from the electricity meter and
2) can reach your Wi-Fi network.
If the customer port on your electricity meter is not activated, it will instead blink green. If you see any other color, you can see what it means below.
View data in the dashboard
Now that your Elveta real-time dongle is connected to the cloud, it is time to log in to your Elveta account and view real-time data. Go to our demo dashboard and log in using the credentials you received from Picofrost.
Tip: Tap the ? icon at the top of any screen in the app for a full guide to what each LED color means.
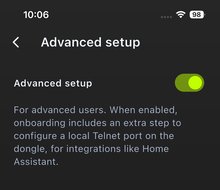
Most users can skip this. If you want to read data locally, for example with Home Assistant, turn on Advanced setup in the app's settings before pairing. Onboarding then adds an extra step to configure a local Telnet port on your Elveta real-time dongle that local integrations can connect to.
Would you like to know more? Please contact us below.
Elveta is developed and operated by Picofrost AB. Read more at www.picofrost.com
+46 10-430 03 14
Täby, Sweden