Activate the customer port
If it is not already active, contact your electricity network provider to activate the customer port, see Activate the Customer Port on our support page. The rest of this step-by-step instruction can be carried out with an inactive port, but data will of course not be visible until it has been activated.
Power Samla
Connect Samla to a USB-C charger to start the configuration. If you have a P1 meter, Samla can be connected directly to it instead of to USB-C. If you have a HAN port or Kamstrup OMNIPOWER®, configuration must be done with the USB-C cable plugged in.
Wait for blue color
When Samla shows a steady light-blue light, it is ready to be configured.
Please note that it can take up to two minutes for Samla to show a steady light-blue light because it may need to charge its internal energy bank first.
If Samla shows red, incorrect WiFi details have previously been entered. Press the small button on Samla with a pen or paper clip to reset it. Samla will then restart and show a steady light-blue light.
Connect to Samla's WiFi
Scan the upper QR code on the back of Samla with your mobile phone. The phone will then ask you to tap the WiFi network suggested in the camera window. You can also manually connect to Samla's WiFi using the WiFi network and password printed on the Samla label.
You can do this indoors with USB-C, so you do not have to stand outside in possible cold or rain.
Open login page
When you are connected to the real-time dongle's WiFi, your phone will suggest that you log in to it via a so-called 'captive portal'.
If the captive portal should not appear, you can manually start your web browser and go to http://192.168.4.1.
Note that some mobile phones warn that there is no Internet on this WiFi, but make sure to stay connected to Samla's WiFi until the configuration is complete.
Enter WiFi network and password
On the real-time dongle's web page, enter the WiFi you use at home. Select the network name from the list of networks the real-time dongle has seen, or enter a network name manually together with the password and click "Ok". Please note that the WiFi network you enter must be on the 2.4 GHz band, have WPA2 as the security level and have coverage in your electrical cabinet.
Wait for green
Samla will now connect to your WiFi. Within a few seconds, Samla will show or blink green to indicate that it successfully connected to WiFi. You can now disconnect the USB-C cable.
If Samla shows red, it failed to connect to the specified WiFi. Press the small button on Samla with a pen or paper clip to reset it. Go back to step 3 and switch to another WiFi. If any other color is shown, you can see what it means below.
Plug the dongle into the electricity meter
Connect Samla to your electricity meter, if this was not done in step 2, using the supplied cable: RJ12 cable if you have a P1 port and RJ45 cable if you have a HAN port. If you have a Kamstrup OMNIPOWER®, the real-time dongle is installed inside the electricity meter without a cable. More information about how to connect it is available on the Electricity Meters page.
Mount the dongle easily
Mount Samla on the wall inside the electrical cabinet. Strong magnets keep Samla in place.
Place it optimally
Remember to place the antenna with as few objects as possible between the real-time dongle and your WiFi access point. This improves the signal.
Turn or tilt the antenna so that the long side of the antenna "points" toward your WiFi access point for optimal coverage. Do not point the tip of the antenna toward the WiFi access point.
Steady green light
Within one minute, Samla will show green if it
1) has received data from the electricity meter and
2) can reach your WiFi network.
If the customer port on your electricity meter is not activated, Samla will instead blink green. If you see any other color, you can see what it means below.
View data in the dashboard
Now that Samla is connected to the cloud, it is time to log in to your Elveta account and view real-time data. Go to our demo dashboard and log in using the credentials you received from Picofrost.
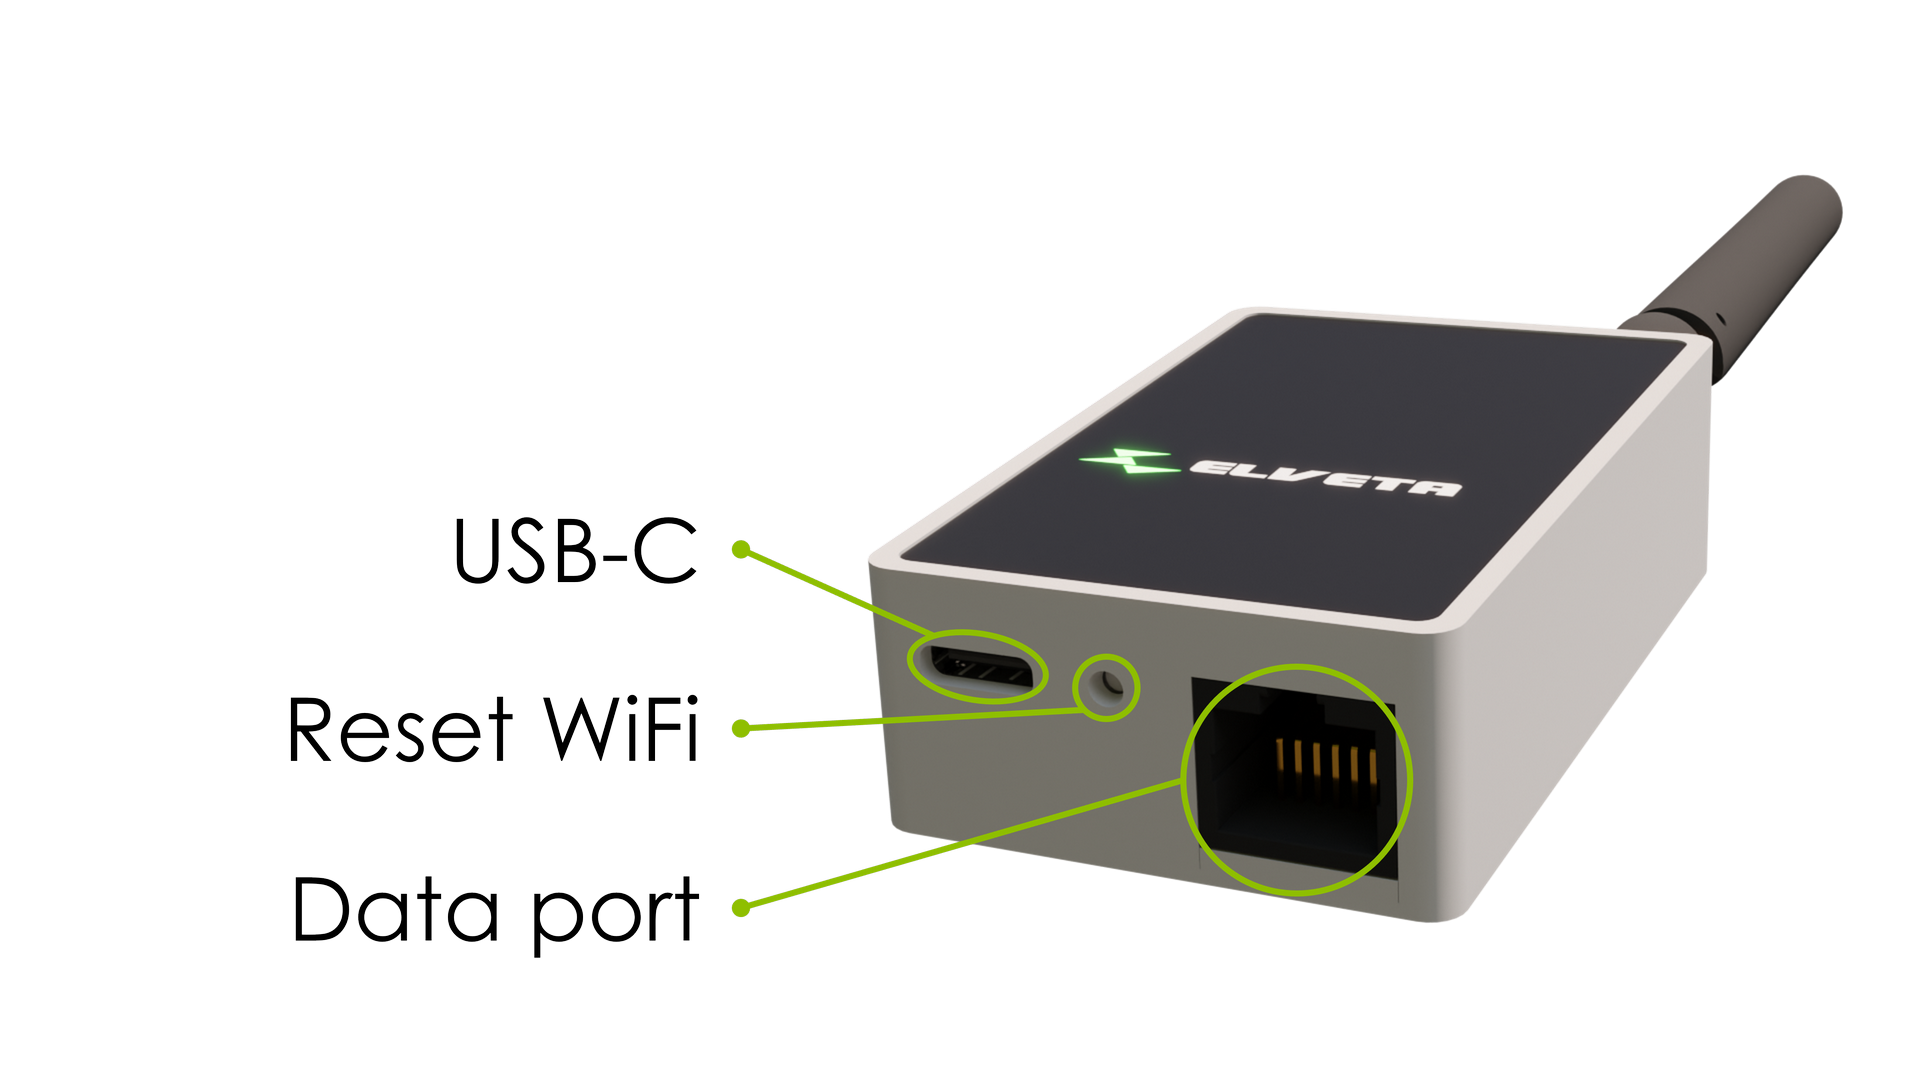
On the underside of your Elveta Samla there are three ports.
A USB-C connector where a charger can be connected to provide Samla with extra power if the electricity meter cannot supply the required power, or if the electricity meter requires input voltage, as in the case of Kamstrup OMNIPOWER® with a P1 module. See requirements regarding USB chargers and voltage output.
A button that resets the WiFi configuration. After the button has been pressed, Samla must be configured with information about which WiFi it should connect to.
A data connector, RJ12, where the electricity meter is connected using the supplied cable to an RJ12 port, RJ45 port or RJ10 Kamstrup adapter.
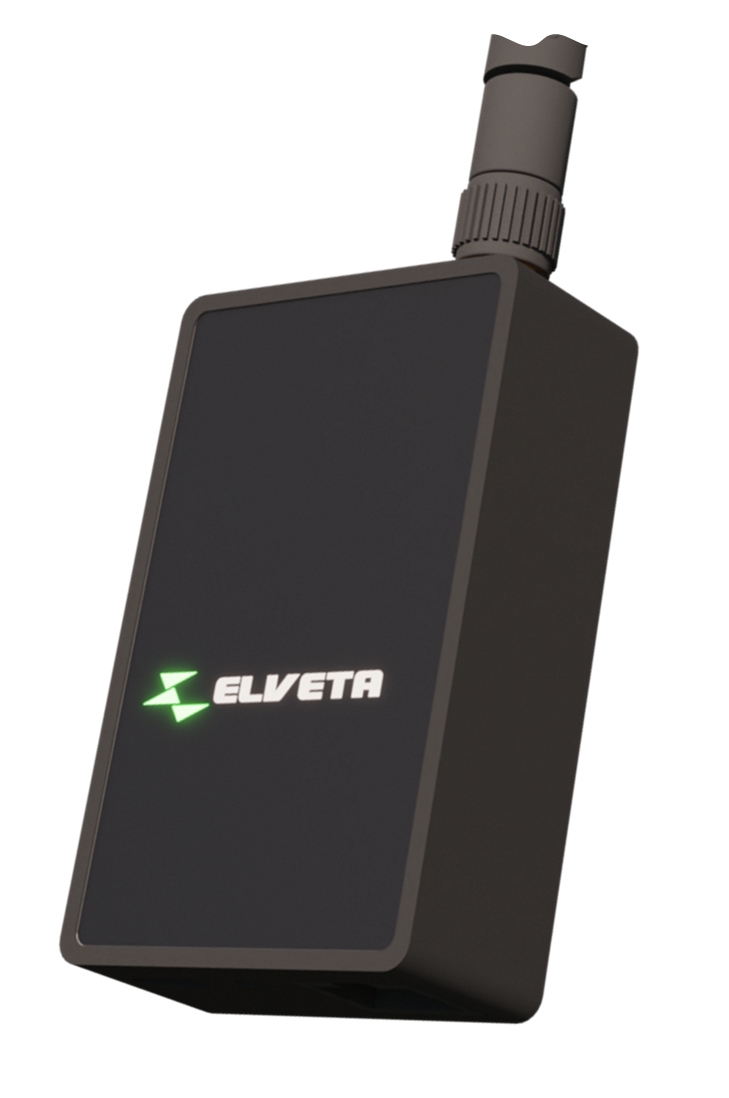
Elveta Samla can show status using different colors on the front LED. Note that the colors may differ between different white-label products, but the standard colors are shown in the table below.
| LED color | Meaning | What to do | |
|---|---|---|---|
| Steady yellow light | Samla is starting | During startup, Samla shows yellow for up to 2 minutes before it changes color and shows a new status. If Samla continuously shows yellow for more than 2 minutes, try unplugging Samla so the LED turns off and then plug the cable back in. If the problem continues, contact Picofrost for help. | |
| Steady light-blue light | Samla is ready to be configured | Samla needs WiFi details to connect to your network. Follow the step-by-step guide to get started with your Samla. | |
| Steady green light | Everything is as it should be | Data is coming from the electricity meter and the real-time dongle can reach the Elveta cloud. Enjoy your data on your page via mobile or computer. | |
| LED color | Meaning | What to do | |
|---|---|---|---|
| Off | Samla has no voltage | Connect Samla to your electricity meter. If the LED is still black, the electricity meter probably does not provide enough power for Samla to work. In that case, connect a USB-C cable to Samla for extra power. | |
| Steady red light | WiFi error | Samla cannot reach your WiFi network. See Questions & Answers for more information. | |
| Steady purple light | No Internet | The WiFi network can be reached, but the Internet is not available. See Questions & Answers for more information. | |
| Blinking green | Meter data missing | If the LED blinks green, it means that Samla is not receiving data from your electricity meter. See Questions & Answers for more information. | |
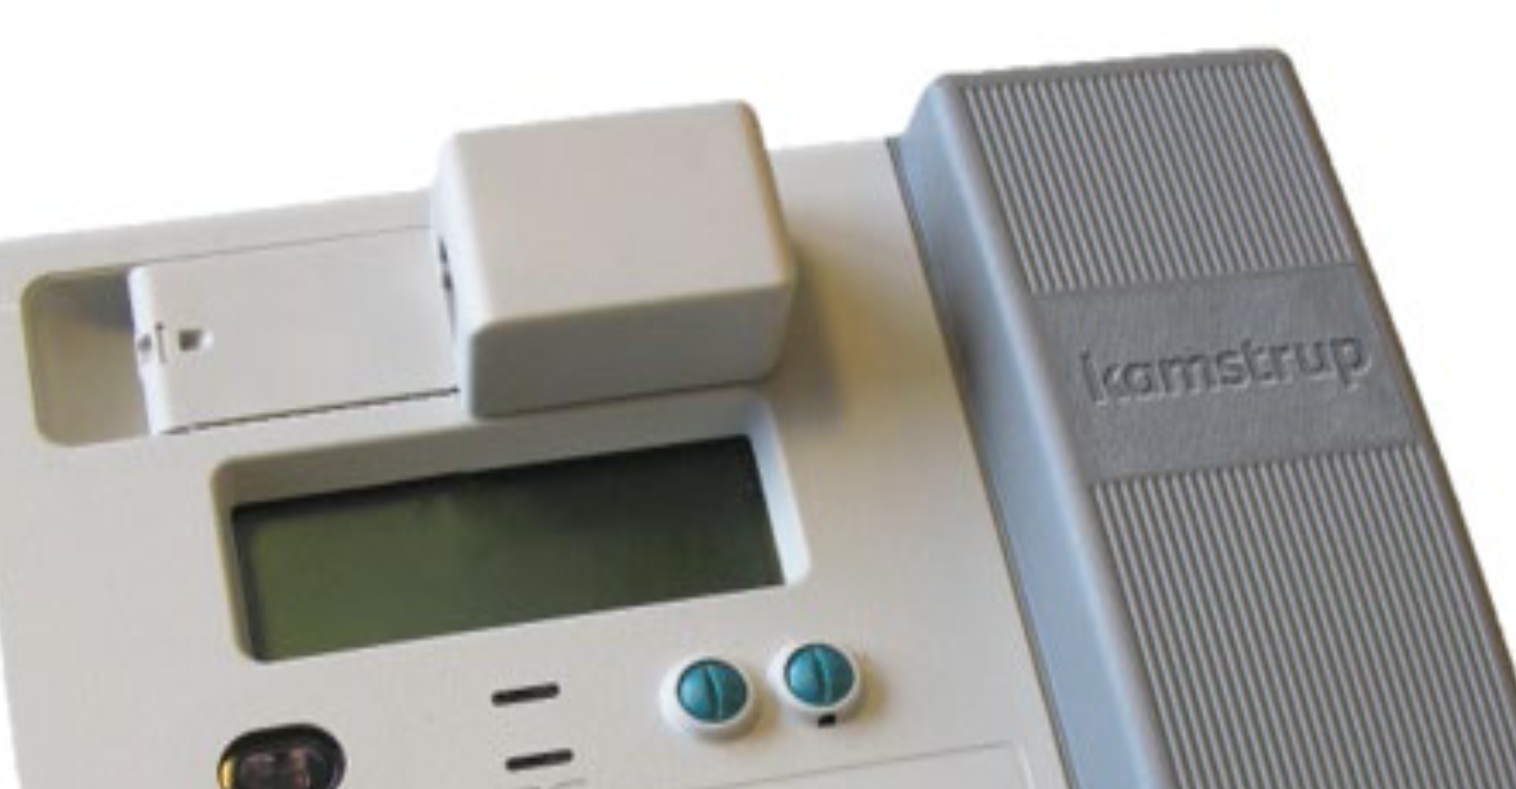
Elveta Samla is developed for Swedish electricity meters with a standard P1 port with RJ12 connector and for HAN ports with RJ45 connector. It also supports Kamstrup OMNIPOWER® with an adapter called Elveta EA11.
There is also a specifically developed real-time meter for Kamstrup OMNIPOWER® called Elveta Samla K below.
If you are unsure what your electricity meter supports, contact us and we will help you.
| Model | Elveta Samla |
| Article number | ES32 |
| Color | Black |
| Electricity meter | P1 with RJ12, HAN with RJ45 and Kamstrup OMNIPOWER® with adapter to RJ10. |
| Protocol | IEC 62056-21 and IEC 62056-7-5 |
| Data level | 3.6V - 5.5V and 24/36V M-Bus |
| Network | WiFi 2.4 GHz WPA/WPA2 |
| Size | 41 x 66 x 21 mm (without antenna) |
| Temperature | -40°C to +70°C (Same as Nordic electricity meters) |
| Voltage In | 5V, max 250mA from a P1 electricity meter. 24-36V, max 30mA from a HAN electricity meter. USB-C port for extra power is available (USB-C cable is not included). |
| Voltage Out | 5V, max 50mA (Requires USB-C) |
| In the package | Elveta Samla ES32, antenna and 60 cm long RJ12-RJ12 cable (for P1) or Elveta Samla ES32, antenna and 60 cm long RJ12-RJ45 cable (for HAN) |
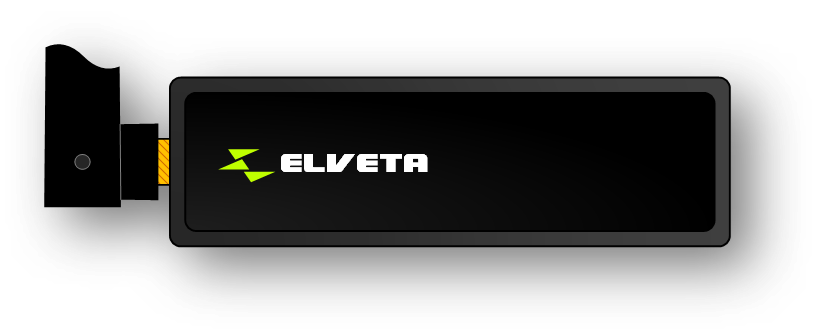
Elveta Samla K is specifically developed for Kamstrup OMNIPOWER®. It has the same strong radio reception and customer customizability as Elveta Samla, as well as an expansion port for RJ12 (P1).
| Model | Elveta Samla K |
| Article number | ES3K |
| Color | Black |
| Electricity meter | Kamstrup OMNIPOWER® |
| Protocol | IEC 62056-21 and IEC 62056-7-5 |
| Data level | 4.15V ±0.25V |
| Network | WiFi 2.4 GHz WPA/WPA2 |
| Size | 72 x 24 x 54 mm (without antenna) |
| Temperature | -40°C to +70°C (Same as Nordic electricity meters) |
| Voltage In | 4.15V, max 75mA. USB-C port for extra power during configuration is available (USB-C cable is not included). |
| Expansion port | RJ12 (P1) for external dongles |
| In the package | Elveta Samla ES3K |
Elveta Samla manages normal data collection with only 300 mW. This means it can operate without external power supply for P1 and HAN ports, and also for Kamstrup OMNIPOWER®, which delivers max 311 mW.
For Kamstrup OMNIPOWER® without access to external voltage, either an Elveta Samla K OR an Elveta Samla real-time dongle with Elveta Adapter EA11 is required.
See more information under Electricity Meters for how these are connected.
| Model | Elveta Adapter |
| Article number | EA11 |
| Color | Gray (Same color as the electricity meter) |
| Electricity meter | Kamstrup OMNIPOWER® |
| Data level | 5V |
| Size | 72 x 72 x 26 mm |
| Temperature | -40°C to +70°C (Same as the electricity meter) |
| Voltage | 4.15V, max 75mA from the electricity meter (total with Elveta Samla) |
| In the package | Elveta Adapter and 60 cm long RJ12-RJ10 cable |
To ensure safe and compliant operation, the USB-C power source connected to this device must meet the following criteria:
Would you like to know more? Please contact us as below.
Elveta is developed and operated by Picofrost AB, company registration number 559387-0834. Read more at www.picofrost.com